Showing posts with label gluten free. Show all posts

Sunday, February 26, 2017

What's for Dinner Tonight?{Gluten and Dairy Free} Wholesome Chicken Tortilla Soup in the Crockpot

before toppings
Ingredients
3 tsp Taco Seasoning (a link to make your own!)
salt to taste (I used 1 and 1/2 tsp salt)
1 cup chopped spinach
4 roma tomatoes chopped
1 carrot grated
1 zucchini grated
1 cup cooked rice
2 cloves garlic
1 cup chopped cooked chicken
juice of 1 lime
1 red pepper chopped
1/4 tsp coriander
1 tsp onion powder
1 qt of Pacific Chicken Broth

tortilla chips crumbled on top

optional:
1 can black beans
chopped cilantro garnish
Daiya Havarti Jalepeno and Garlic "cheese" shredded
Vegenaise (tastes like sour cream!)

Directions:

Put the above ingredients in the crockpot on low for 8 hours. Top with Daiya, vegenaise, cilantro, or avocado. Don't forget the Tortilla chips! I am posting this at Allergy-free Wednesdays.


Tuesday, February 21, 2017

{Gluten and Dairy Free} East Indian Bombay Potatoes


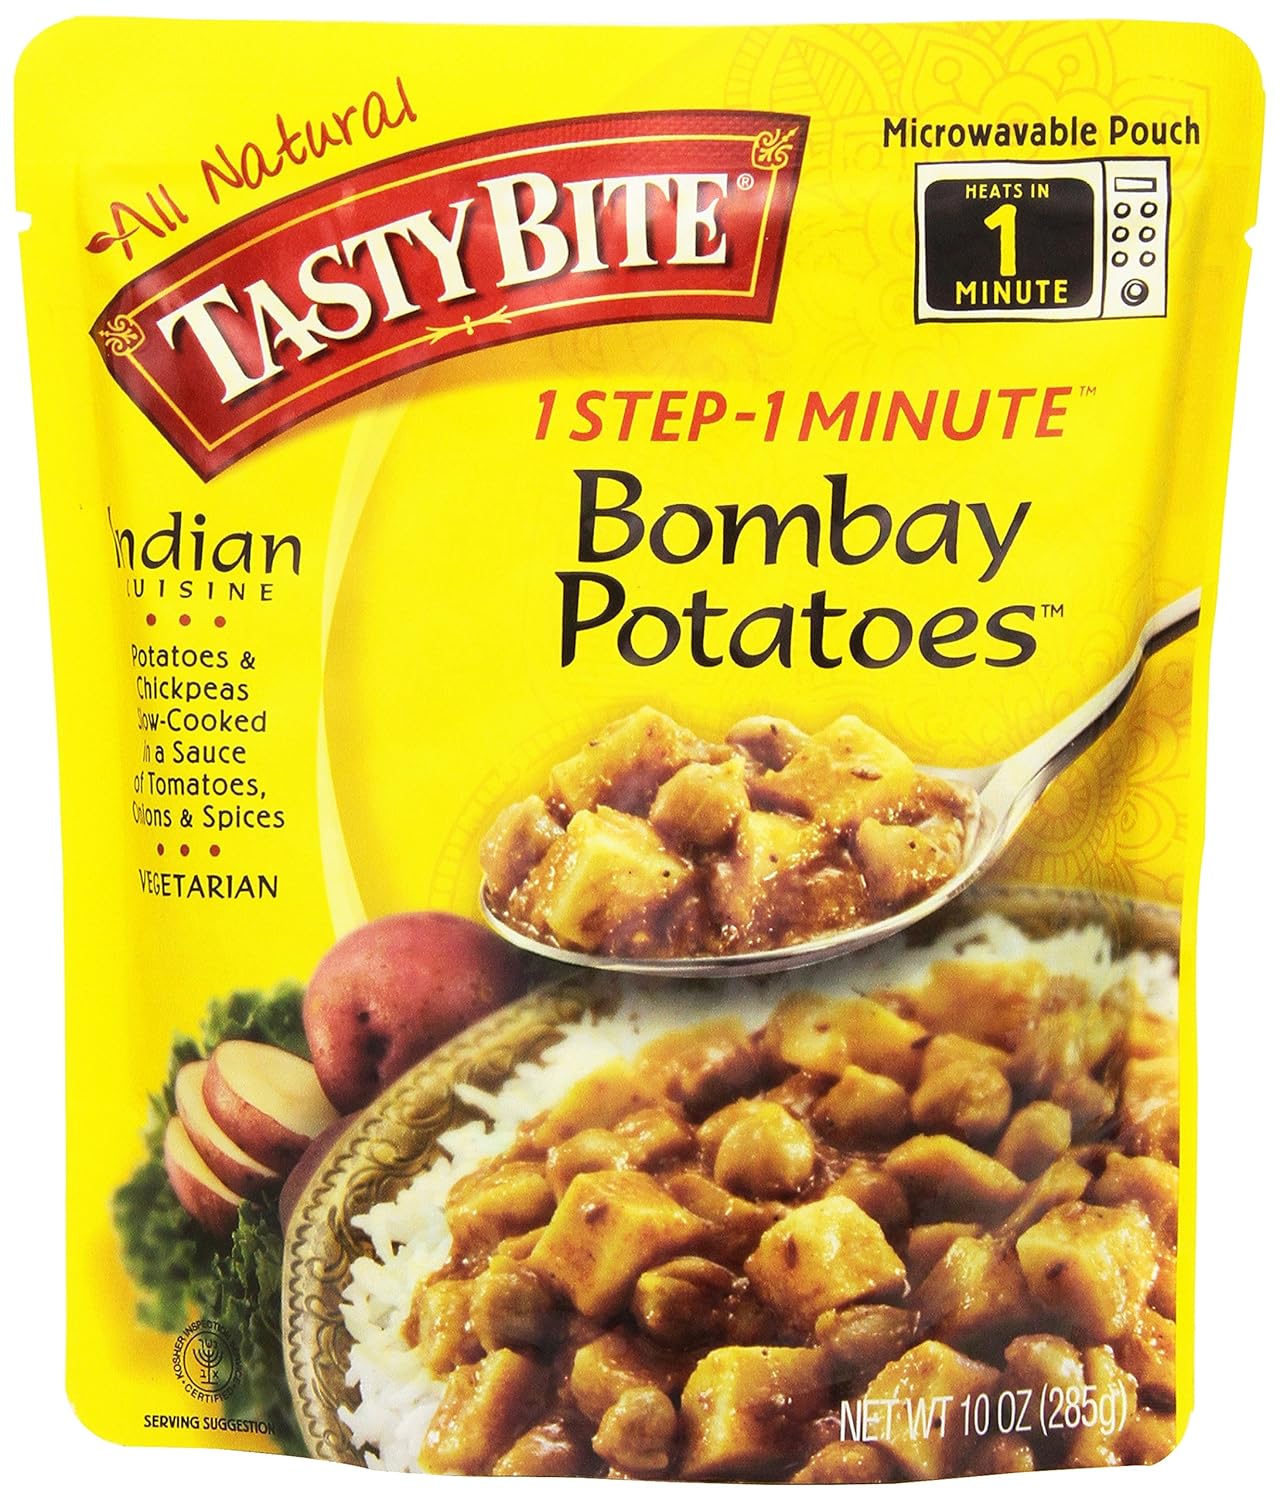
I love Tasty Bite's Bombay potatoes and thought it would be fun to make my own. I found this great version from BBC Good Food.   I would add a can of garbanzo beans for protein as is included in a Tasty Bite.  This looks easy and is naturally gluten and dairy free.


Ingredients

  • 1kg Salad/New Potatoes, cut in 2cm cubes
  • 2tsp Turmeric divided
  • Water for boiling
  • 1 1/3 tbsp vegetable/sunflower
  • 1 1/2 green chilis, finely sliced
  • 3 cloves of garlic, finely chopped
  • 2 medium white onions, chopped
  • 2tsp Garam Masala
  • 2tsp Black Mustard Seeds
  • 2tsp Ground coriander
  • 2tsp Fennel Seeds
  • 3tbsp Lemon Juice
  • Salt and pepper to taste
  • Handful of fresh coriander, roughly chopped
  • Fresh or tinned tomatoes (optional)


Method

    1. Boil the potatoes in the water with half the turmeric until you can brake one easily with a fork. Drain well.
    2. Add the oil to the wok, and get the wok really hot. When really hot and chili and cook for 30 seconds until brown.
    3. Add the garlic, the onions, Garam Masala,Ground coriander, Fennel seeds, the rest of the turmeric and Black Mustard Seeds, and cook until the onions go slightly tender.
    4. Now add the potatoes and cook for a further 7 minutes on a medium low heat. If using tomato, add it at this point
    5. Add Lemon juice, fresh coriander and salt and pepper to taste, and serve with rice or Naan.Top with leftover fresh coriander.

Monday, October 31, 2016

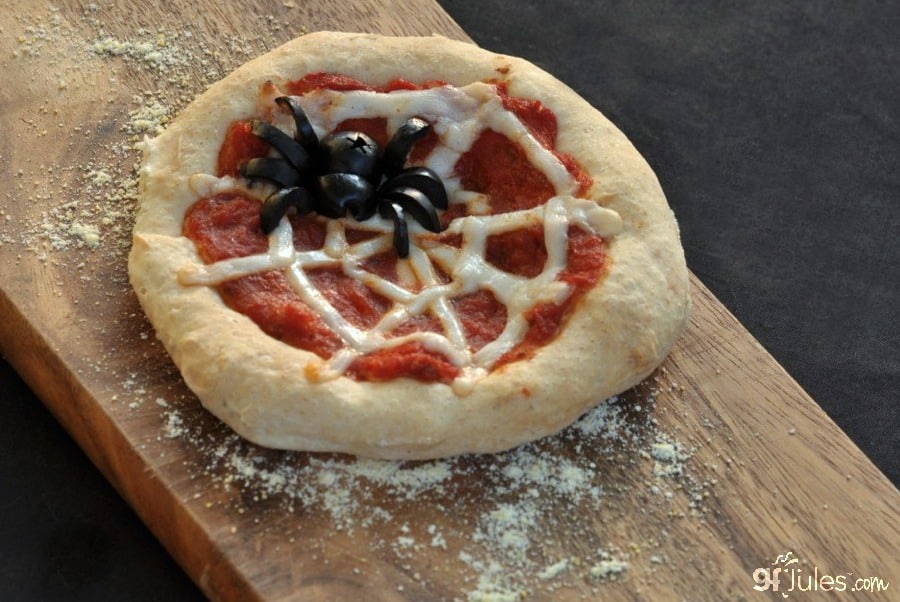
{Gluten and Dairy Free} Halloween Pizzas

photo from GF Jules.com

GF Jules has a great recipe for these halloween pizzas. I thought these were adorable in general. If you haven't tried her flour blend, I'd highly recommend it.  She has dairy subs listed for you.

Friday, August 5, 2016

{Gluten and Dairy Free} Easy Paleo Greek Chicken

Physical Kitchness came up with this super yummy greek meal.  If you are could use crumbled goat's cheese (make sure there is no casein, or cow's milk protein!) or you could use Daiya Mozzarella. You could also skip the cheese altogether (insert crying sound here, LOL).  I probably would skip the cheese. There are a lot of flavors here without it. I would slightly increase the salt, as cheese has salt, and adding some salt can help compensate for the flavor. Yum!
photo from Physical Kitchness

Author: 
Serves: 2
Ingredients
  • 2 large chicken breasts or 3 small breasts
  • ¾ cup sliced black olives
  • 1 can artichoke hearts, drained and quartered
  • 1 lemon, juiced
  • 2 small bell peppers, sliced
  • 1 tablespoon coconut oil
  • 2 teaspoons dried oregano
  • 1 teaspoon dried thyme
  • 1 teaspoon garlic powder
  • ½ teaspoon onion powder
  • 2 teaspoons dried parsley
  • 1 teaspoon dried onion flakes
  • ½ teaspoon pepper
  • Optional: crumbled feta 
Instructions
  1. Preheat oven to 350 degrees F.
  2. Heat coconut oil in a medium oven-proof skillet over medium high heat. Place chicken breasts in the pan and sear on one side, roughly 3-4 minutes (depending on thickness). Flip breasts over and add sliced bell peppers. Cook additional 3-4 minutes.
  3. Add the remaining ingredients and spices. Mix well and transfer skillet to oven. Bake 15-20 minutes or until chicken is thoroughly cooked, reaching an internal temperature of 165 degrees F.
  4. Serve immediately and garnish with crumbled feta if desired.

Friday, June 10, 2016

{Gluten and Dairy Free} Crunchy Taco Cups

Tasty on Buzzfeed has these adorable and fun Crunchy Taco Cups. I have made them gluten and dairy free based on my 10 years of altering recipes. Watch this super fun video to inspire you. I love these videos!


INGREDIENTS

Servings: 12 taco cups
1 pound lean ground beef
1 envelope (3 tablespoons) gfree taco seasoning (to make your own go here)
6 ounces diced tomatoes
1 (4 ounce) can diced green chiles
1 1/2 cups Daiya cheddar cheese
6 large brown rice tortillas
top with Veganaise for sour cream

PREPARATION

1. Preheat oven to 375º F.
2. In a large skillet, brown the ground beef and drain any remaining fat. Transfer to a bowl.
3. Add taco seasoning, tomatoes and green chiles to the ground beef and stir to combine.
4. Cut flour tortillas into a square shape and cut each into 4 smaller equally sized square pieces.
5. Generously coat a standard size muffin tin with nonstick cooking spray.
6. Line each cup of prepared muffin tin with a tortilla sheet.
7. Add 1.5 tablespoons taco mixture. Top with 1 tablespoon of cheese. Press down and add another layer of tortilla sheet, taco mixture, and a final layer of cheese.
8. Lightly brush the top edges of the tortilla with cooking oil.
9. Bake 18-20 minutes until cups are heated through and edges are golden brown.
10. Enjoy!

Saturday, June 4, 2016

Easy Homemade {Gluten and Dairy Free} Tomato Soup

You can see the steam coming off of it.

1-6 oz can of tomato paste
3 cups water
3/4 tsp salt
1/8 tsp pepper or 1/4 tsp McCormick's steak seasoning (I sprinkled more McCormick's on later).
3/4 tsp onion powder
1 tsp olive oil
1 tsp balsalmic vinegar or 2 tsp pomegranate juice

optional: 1 tsp italian seasoning
also optional add 2 TBS tapioca starch to a little water and then add to the mixture. I like it to cook until it thickens instead which gives a rich tomato flavor.

I like to top it with Glutino Croutons, Go Veggie! non-dairy Parmesan or a dollop of Vegenaise!

Combine ingredients in a saucepan. Heat over medium heat until simmering. Reduce heat and simmer until thickened. I am posting this at Allergy-free Wednesdays.

Thursday, February 11, 2016

{Gluten, Sugar Cane and Tomato Free} Vegan Barbecue Sauce

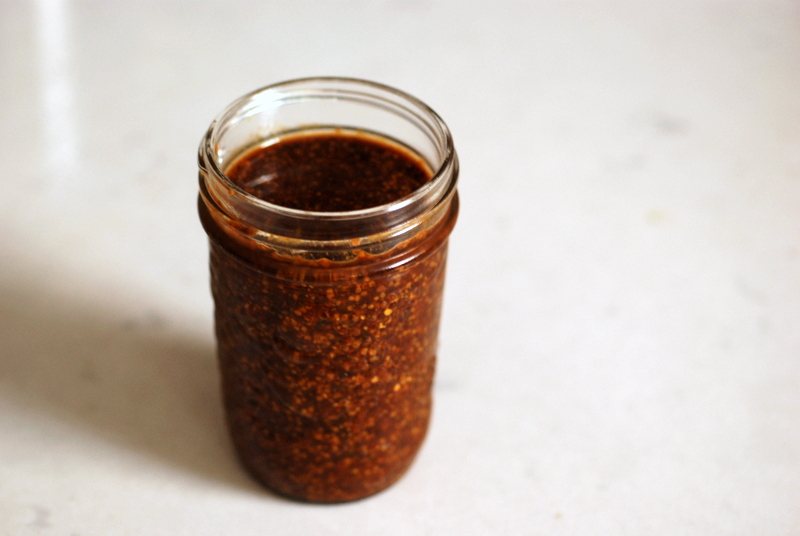
Taste Space came up with this amazing Tomato free Barbecue Sauce.  I used pomegranate juice instead of the vinegar. If you use agave or coconut sugar instead of the molasses it will be sugar cane free as molasses is often from sugar can in the US. I made this tonight and was so pleasantly surprised! If you taste it and it's quite tart, add more sweetener.  My son that is in an elimination diet is going to go crazy for this! I put it over pork and served it with rice and baby broccoli.  It's also nice if you just want to make your own bbq sauce! It is also dairy free.
photo from Taste Space

South Carolina Mustard Barbecue Sauce
Adapted from Fat Free Vegan
1/2 cup prepared mustard (I used Dijon mustard)
1/2 cup cider vinegar
1 tbsp blackstrap molasses (I used more agave and a little coconut sugar to make it sugar cane free)
1/4 tsp turmeric
3 tbsp agave nectar or other sweetener (or more, to taste)
3 cloves garlic, minced or pressed
1/2 tsp granulated onion
1/2 tsp celery seed
1/2 tsp dried thyme
1/4 tsp salt
1/8 tsp Aleppo chili flakes, or to taste
1. Place all ingredients in a small saucepan. Bring to a boil, reduce heat and simmer for 15-20 minutes until slightly thickened. Store in the fridge.
Makes 1 cup.

Saturday, October 17, 2015

FREE Gluten Free Breakfast Cookbook for Weight Loss and Healthy Life Style

This gluten free cookbook

Gluten Free: Delicious Gluten Free Breakfast Recipes For Weight Loss And Healthy Living Life Style Kindle Edition


is free on Amazon right now. You can read it on your laptop, kindle, android or iPhone.  So far it has 5 out of 5 stars! As you may know, the price can change at any time, so if you want to get it free, it would be a great idea to grab it while you can. :0)


Tuesday, October 13, 2015

{Gluten and Dairy Free} All-Dressed Kale Chips

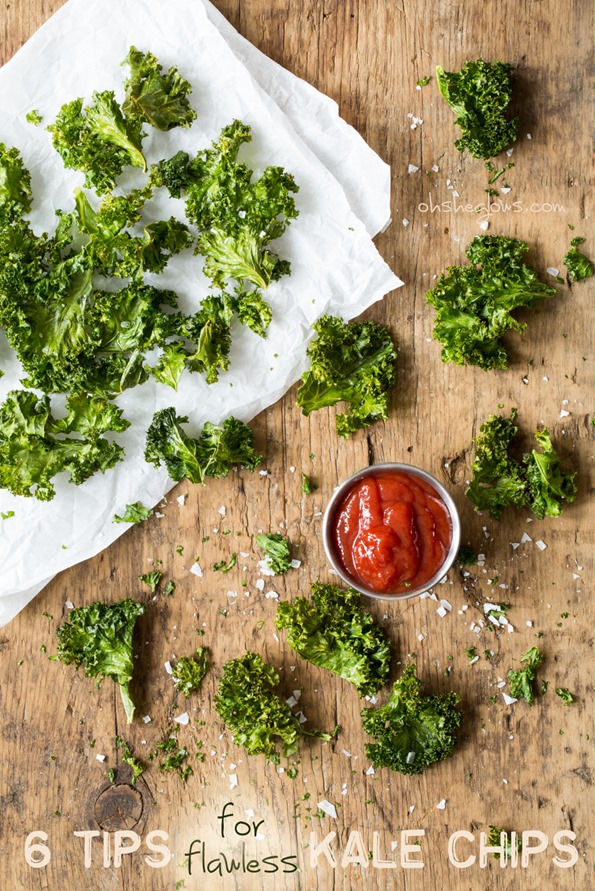
 In Canada they have a thing called "All-dressed". All-dressed chips, and All-dressed crackers. It's a variety of spices that is more addictive than I could possibly capture in this blog.   I am totally hooked and typically when we go to Canada the one thing I will buy on the whole trip is All-dressed gluten free Old Dutch chips.  I also am a huge kale chip fan, so you can imagine my delight when I found this recipe by Oh She Glows.  This is the perfect excuse to pig out on kale! She also has 6 tips on how to cook it to perfection every time. Check it out!

photo from Oh She Glows


All-Dressed Kale Chips

Vegan, gluten-free, grain-free, nut-free, refined sugar-free, soy-free
By 
4.9 from 39 reviews
print icon   6 Tips for Flawless Kale Chips + All Dressed Kale Chips recipe
Crispy and chewy kale chips baked in the oven and seasoned to perfection. Enjoy these as a healthy alternative to potato chips.

YIELD
1-2 SERVINGS
PREP TIME
15 MINUTES
COOK TIME
25 MINUTES

Ingredients:

PER BAKING SHEET:
  • approx. 1/2 bunch kale leaves
  • 1/2 tablespoon extra virgin olive oil or melted coconut oil
  • 1.5 tablespoons nutritional yeast
  • 1 teaspoon garlic powder
  • 3/4 teaspoon chili powder
  • 1/2 teaspoon onion powder
  • 1/2 teaspoon smoked paprika
  • 1/4 teaspoon fine grain sea salt or pink Himalayan sea salt
  • 1/8 teaspoon cayenne pepper (optional)

Directions:

  1. Preheat oven to 300F. Line a large rimmed baking sheet with parchment paper.
  2. Remove leaves from the stems of the kale and roughly tear it up into large pieces. Compost the stems (or freeze for smoothies). Wash and spin the leaves until thoroughly dry.
  3. Add kale leaves into a large bowl. Massage in the oil until all the nooks and crannies are coated in oil. Now sprinkle on the spices/seasonings and toss to combine.
  4. Spread out the kale onto the prepared baking sheet into a single layer, being sure not to overcrowd the kale.
  5. Bake for 10 minutes, rotate the pan, and bake for another 12-15 minutes more until the kale begins to firm up. The kale will look shrunken, but this is normal. I bake for 25 mins. total in my oven.
  6. Cool the kale on the sheet for 3 minutes before digging in! This really makes all the difference! Enjoy immediately as they lose their crispiness with time.
  7. Repeat this process for the other half of the bunch.
Note: Feel free to make these in a dehydrator if you have one. You can also experiment with the convection or dehydrator setting on your oven (if applicable).


Read more: http://ohsheglows.com/2014/03/12/6-tips-for-flawless-kale-chips-all-dressed-kale-chips-recipe/#ixzz3Q31zXHiC

Tuesday, August 4, 2015

Gluten Free Chex Oatmeal {also Dairy, Egg and Corn Syrup Free!}

I am very excited about this oatmeal! It's gluten, dairy, egg and high fructose corn syrup free! I miss being able to whip up some oatmeal in a flash.  These Chex oatmeals taste like the real deal and are as easy as the originals to make!  We grabbed a package and are going to bring it to our hotel. We can make it in a mug with the hot water they provide at breakfast, or we can use the coffee maker or microwave to heat up water. The one I bought was $2 for a pack of 6. For gluten free this is a great price! Are you hoping to avoid the added sugar? You can buy sugar free Gluten Free Chex Instant oatmeal that just has the oats and no added sugar!

This is what is said about it here. "Gluten Free Chex™ Oatmeal is a delicious and nutritious gluten free breakfast. The perfect way to warm up your morning. 

No artificial flavors, colors, or preservatives. Gluten Free. No high fructose corn syrup. Low Sodium. Dairy Free. Egg Free.

A 1 pouch serving made with water contains 170 calories and 2.5g fat.

Ingredients

Maple Brown Sugar: whole grain oats, sugar, salt, natural flavor
Apple Cinnamon: whole grain oats, sugar, dried apples, cinnamon, salt
Original: whole grain oats

Case Size: 8 - 6/1.59oz
Serving Size: 45g (1 pouch)
Case Yield: 48
Shelf Life: 1 year

Nutrition Facts Serving Size 1 pouch for Maple flavor: (45g) Serving Per Container 6 Calories 170 Calories from Fat 20 % Daily Value * Total Fat 2.5g 0% 2% Trans Fat 0g 4% Cholesterol 0mg Sodium 180mg 8% Total Carbohydrate 34g 11% Dietary Fiber 4g Sugars 12g 15% Protein 4g Vitamin A 0% Vitamin C 0% Calcium 0% Iron 6% *Percent Daily Values are based on a 2,000 calorie diet. Your Daily Value may be higher or lower depending on your calorie needs."

Thursday, July 16, 2015

{Gluten and Dairy Free} Veggie Burgers

The Kitchen Whisperer came up with these amazing vegetarian "burgers".  They do have eggs, and parmesan cheese, but you could leave out the cheese or use Go Veggie! non-dairy parmesan.  I love that it has a variety of veggies in it and beans. Not to mention the picture looks so appetizing! I have made egg-free patties before by adding a fair amount of cooked white rice and blending it finely in a food processor. Then you pack it with your hands into patties. The rice really helps it stick, and would make a complete protein with the beans. You could do this instead of the eggs.
photo from the Kitchen Whisperer

Ingredients
  • 2 cups portabella mushrooms, cubed (smaller pieces); gills removed
  • 2 cups cooked black beans, rinsed and divided
  • 1 cup minced broccoli, fresh only
  • 1/2 cup red onion, minced
  • 3 XL eggs, beaten
  • 1/2 cup plus 2 Tbl Panko or Gluten Free Panko
  • 1 Tbl Montreal Steak Seasoning
  • 1 Tbl Worcestershire *for full vegetarian style use one that does not contain anchovies
  • 2 Tbl minced garlic
  • 3/4 cup fresh grated Parmesan *Look for vegetarian or vegan Parmesan cheese if you do not eat animal products
  • Olive oil
Instructions
  1. In a large bowl add 1 cup of black beans and mash with a masher (chunks are OK).
  2. Next, add in the mushrooms, the rest of the beans, broccoli, garlic, onion, Worcestershire and steak seasoning.
  3. Mix just until coated.
  4. Add in the eggs, cheese and bread crumbs and mix gently with a large spoon until the mixture is combined.
  5. Set aside while you place a medium non-stick pan over medium heat and add in 2 Tbl of oil.
  6. Once the oil starts to shimmer (about a minute or two), using dampened hands (the mixture will stick to you if you don’t), scoop a 1/2 cup of mixture into the palm of your hand and gently shape into a burger all the while pressing together. The mixture should hold a burger shape. If it doesn’t add just a Tbl more of bread crumbs.
  7. Place in the oil and cook for 3-5 minutes per side or until golden brown and a crust has formed on each side.
  8. Serve with hummus, guacamole or steak sauce

Saturday, February 21, 2015

Traveling Gluten Free

Are you looking for Gluten free options in a big city on vacation? This is one of my favorite resources. I google "yelp gluten free" and then the name of the city. For example, "yelp gluten free san francisco" and then your search engine should bring up on Yelp a ton of gluten free places in that city with reviews and everything. You can even switch the "location" and put in the exact zip code of where you are going to be and it will help you find restaurants that are gluten free in that location. I will often call a place to double check they serve gluten free food before I actually go there. There is nothing worse than getting somewhere and finding out that they don't really have any idea what gluten free means. I went to a thai restaurant recently and asked what dishes they can make gluten free. She said, "Everything". I have never gone to a restaurant and had them say that before. Even this restaurant. I found that a bit alarming. It can be a good idea to dig deeper and ask "how do you make it gluten free?". If they say they use tamari (gluten free soy sauce) that would be one thing. But chances are if the recipes call for oyster sauce, pre-made sauces, etc. they will contain regular soy sauce which contains wheat. I also will ask them for dairy free items. My understanding is that many people tolerate butter fine. Sometimes they ask me if I want it cooked in olive oil instead and I gratefully say yes. Other times it's more about if it comes with cheese or if there is cream in the sauce. It all depends on how much of a reaction you have as to your comfort level. If you are really sensitive I would be tempted to grill the waiter a bit. If you are not very sensitive, you could just ask for gluten-free and hope for the best.

Friday, February 20, 2015

How Do You Cook Pasta in the Microwave?

A friend was on a trip recently, and was telling me how her hotel didn't have a full kitchen but did have a microwave. She asked if I had ever cooked pasta in the microwave before.  I have not, but found this great tutorial. With gluten free pasta I would add in a little oil. I would also be careful about over cooking the noodles and check it more often than she suggests.  Better to check when it is underdone, and put it in a little longer than have a big pile of rice mush from overdone pasta. Another thing I would do is go for Tinkyada, Jovial, or a GFree pasta that has mixed grains. For example, corn and rice, or quinoa and rice. These pastas are often way more forgiving than just a rice pasta. However, Tinkyada and Jovial are in my experience the most forgiving of the pure rice ones. Has anyone every tried this? I'd love to hear. All you need is some tomato sauce and this could make a fantastic quick hotel meal. This is on my to do list. For directions go here to Tablespoon.com.
.
photo from tablespoon.com


Thursday, February 19, 2015

{Gluten and Dairy Free}Honey Chipotle Chicken Bowls with Lime Quinoa

Viance created this amazing Honey Chipotle Chicken Bowl with Lime Quinoa. If you want to make sure it is gluten free, I would look for mustards that are gluten-free and chicken broth that is gluten free using celiac.com (use search function) or Cecelia's Marketplace buying guide.   Annie's dijon is gluten-free and Pacific brand broth is always gluten free.


Tuesday, February 17, 2015

12 Paleo Crockpot Meals

This one goes out to my Paleo peeps. Paleo made easy; in the crockpot!  Graciously Saved came up with 12 great recipes and a run down on how to make these into freezer meals. If you are on the go, and want a fast inexpensive allergy-friendly meal, this is for you, too!  Just whip these meals up, store them in freezer bags in the freezer and throw them in the crockpot in the morning! You can either savor the aroma all day or enjoy coming home to a house bursting with these scents! I love coming home to a crockpot meal.  Walking in the door and smelling those yummy smells instead of scrambling to make dinner at the last minute is a real treat.
photo from Graciously Saved


White Chicken Chili

Ingredients:
2 T. olive oil
1 T corn starch
1 medium onion chopped
1 can chopped green chilis, drained
2 cans white beans (drained)
2 t. cumin
2 t. chili powder
1 lb chicken tenders
1 t. salt
1 t. pepper

Directions:
Place all ingredients except chicken stock in large freezer bag, toss to coat and freeze. 

Write on bag: 2 cups chicken stock
   1. When ready, place ingredients in slow cooker, add chicken stock and cook on low for 4
       5 hours. 
   2. Remove chicken, shred & return to crock pot. 

   3. Serve with warm cornbread (or not:))

Saturday, February 14, 2015

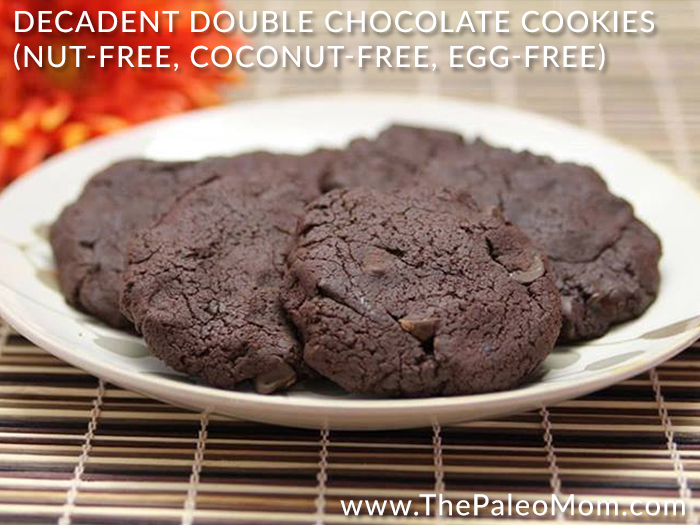
{Gluten and Dairy Free} Paleo Double Chocolate Cookies

What a wonderful idea! I love that these cookies are Paleo yet nut free!  The Paleo Mom knocked it out of the park with this one!
photo from The Paleo Mom

Ingredients:
  1. Preheat oven to 350F.  Line a baking sheet with parchment paper.
  2. Puree plantain in a food processor or blender with molasses and honey for 2-3 minutes, until very smooth.
  3. Melt chocolate and coconut oil together (you can do this in the microwave or on the stovetop, up to you), being careful not to burn it.
  4. Add melted chocolate to the food processor.  Add vanilla and process to combine.
  5. Combine cocoa, tapioca, salt, and baking soda.  Add to food processor (if you’re using a blender, you probably want to pour this out into a bowl and mix in the dry ingredients by hand).  Pulse to form a uniform dough.
  6. Remove from the food processor and fold in chocolate chips.  The dough should be cool enough to handle (but still slightly warm).
  7. Take large spoonfuls of batter and drop onto the prepared baking sheet.  Flatten and smooth out with your hands, a spatula or the back of a spoon (think of this like making cookie patties).  You are completely shaping the finished cookie since these cookies don’t spread while baking.  Form 11 or 12 large cookies–about 3” in diameter and 3/8” thick.  You can change the size if you want, but then you’ll have to adjust the baking time.
  8. Bake for 9-10 minutes.  Remove from the oven and let cool at least a few minutes on the baking sheet (you can let these cool completely on the baking sheet if you want).
  9. Enjoy!

Thursday, February 5, 2015

Paleo {Sugar Free} Vegan Caramel Pudding

Oh, no. This looks so good it could be positively dangerous. Except it's refined sugar free, raw, paleo, gluten-free, vegan and almost "good" for you. Gluten-free Vegan Love just made a few more fans with this amazing recipe (although I definitely was already a fan!).

photo from Gluten-Free Vegan Love

Paleo and Raw Vegan Caramel Pudding Recipe:

5.0 from 2 reviews
Paleo and Raw Vegan Caramel Pudding
Prep time
Ready In
Author: 
Makes: about 1 cup pudding {1-2 servings}
Ingredients
  • 1 young thai coconut {the white kind, not the mature brown ones}
  • 10 soft medjool dates
  • 2 tbsp maple syrup {or liquid sweetener of your choice}
  • 1 tsp pure vanilla extract {or better yet, a tiny pinch of raw ground vanilla bean} {use alcohol free vanilla extract for AIP}
  • dash of salt
  • Optional: 1 tbsp coconut oil, softened {for a firmer pudding once chilled}
Instructions
  1. Carefully remove the top of the coconut. {Watch this video on how to do it, if you haven't done it before}. Pour coconut water off into a glass or storage container -- most of it will be reserved for other uses {it's delicious in smoothies or other cooking and baking}.
  2. Scrape out the flesh of the coconut into your blender {I used my Vitamix for this}. Add in 3 tbsp of the coconut water you've just set aside and all remaining ingredients. Blend until mixture is smooth. Adjust sweetness as needed. Transfer into a glass storage container or serving bowls -- enjoy it fresh or place in the freezer for at least an hour for a firmer pudding {note: it will not freeze into solid form no matter how long it's frozen for -- it will only gelatinize and get even more pudding-like and delicious!}.